VShare Software is a powerful open-source app marketplace. This is a wonderful opportunity for those who want to start an app business but do not have technical skills or money to invest. Share is compatible with both IOS and Android operating systems. With this great AppStore, using third-party applications are now the latest trend all over the world.
Table of Contents
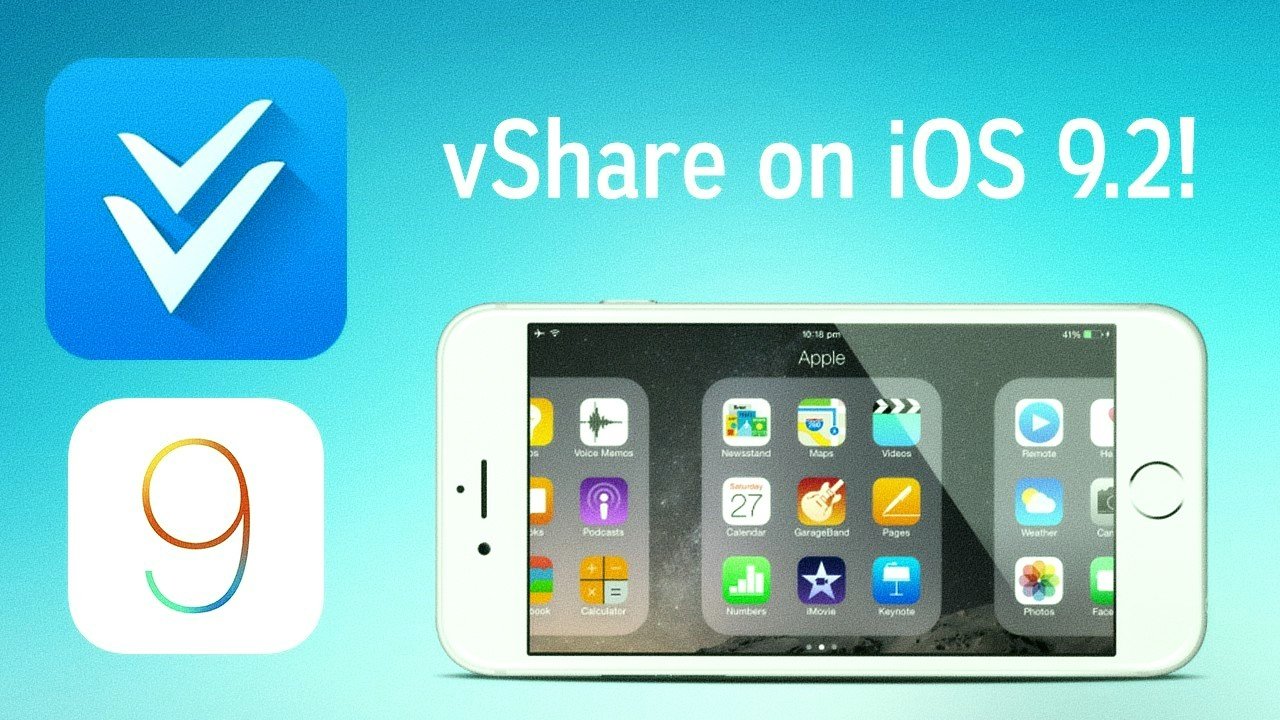
vShare App Software installation:
You will need a computer with an internet connection, a software installation package such as WinDriver. Also, you’ll need an application called VirtualUSB. After you’ve downloaded and installed the VirtualUSB driver on your computer, you’re ready to begin download vShare App from the shared website. Simply follow the instructions in the vShare Download Manager to install and run your first virtual PC application.
Social:
To get started, simply follow the installation wizard on the main menu. Next, click on the Add/Remove program’s icon on the menu. The programs that you’ll see in this section are the default programs you installed like Windows Messenger, Skype, YouTube, Safari and so on.
vShare App installed apps:
Once you’ve removed the default installed apps, you’ll need to re-download the Virtual USB drivers on your PC. You can do this by following the steps in the Virtual USB driver installation wizard. Follow the prompts exactly to install the latest drivers. When done, you should see two or three app icons on your desktop or taskbar.
Third and final step:
The third and final step in the installation process is to click on the downloaded app icon to launch it. You will then see two or three items on your desktop or taskbar. One of these items is the vShare App Provider login window. You will need to log in to the account by clicking on the appropriate icon. The second item is the shared web admin user interface. Open this window to access the customization tools.
Install the actual app on your PC:
Once you’re done with these steps, you’re now ready to install the actual app on your PC. Tap on the shore App button located at the very bottom of the screen. Follow the prompts and select the software from the list of available applications. Install it and tap back on the installation wizard. Follow the prompts until the installation process finishes. When the app is completed, you can see your newly created android emulator home screen.
You can check more, photo album design software
vShare program:
Installing the Virtual USB driver and the shared app shouldn’t take long. Just tap into the vShare program to launch the program, follow the prompts and then tap the start button to begin the transfer. You’ll see your new android helper device and the program should be updated accordingly. If you want to transfer additional files to your helper device, you can simply tap into the tool and then browse to where you want to put in the file.
Virtual USB drive app:
The last step in the installation process is to allow your trusted developer to scan your device for any untrusted files before you proceed with the actual installation process. This will ensure that all the files are properly included in the program and that there won’t be any issues as a result of installing it. Once your untrusted files have been added, you can then tap the start button to begin the test run. If everything was able to work, then you can close the program to complete the process. That’s pretty much all there is to the installation of the Virtual USB drive app.
final step involves connecting:
The final step involves connecting your phone or tablet to the computer via USB. You’ll see a new icon on your smartphone or tablet’s device home screen. Tap on this and then follow the simple instructions provided. Your trusty Virtual USB drive will then prompt you to insert a blank USB drive containing one or more apps you want to transfer to your device. Click yes to continue and then proceed with the installation.
iOS device:
A warning about the installation method detailed above. If you’re using an iPhone or any other iOS device, then you’ll need to use a computer with an active mac mini for this step. If you’re on a non-iOS device, then this method won’t work for you. This is because it requires drivers to actually recognize your computer as a “host” of the USB drive you wish to use. These drivers are not readily available for non-iOS devices, and as such, your attempt to install the shared App won’t be complete.
Conclusion:
The last step in the process is to connect your device to your computer via USB once again. Once done, you’ll see a window with two icons. The default icon is the “Open” button, and you’ll use the second icon to select “manage folders and files”. From here, you should find all your saved files, as well as the applications that you want to use with shame. Simply follow the instructions, and you’ll easily download and install all new apps onto your iPhone or iPad.